
Bubble wrap is seriously one of the coolest things ever. I think pretty much everyone enjoys popping it and secretly jumps for joy when bubble wrap accompanies something they buy. Because of this, knowing how to make photo-realistic bubble wrap in Adobe PhotoShop can be easy and useful, and if you can’t have any real bubble wrap, perhaps this fun tutorial will satisfy your craving until the next time something containing bubble wrap arrives in the mail.
Step 1: Creating the Document
Open a new document to RGB color, 8 in. by 8 in., 150 pixels per inch. If the rulers around your canvas are not already there, turn them on (View/Rulers)

Step 2: Background
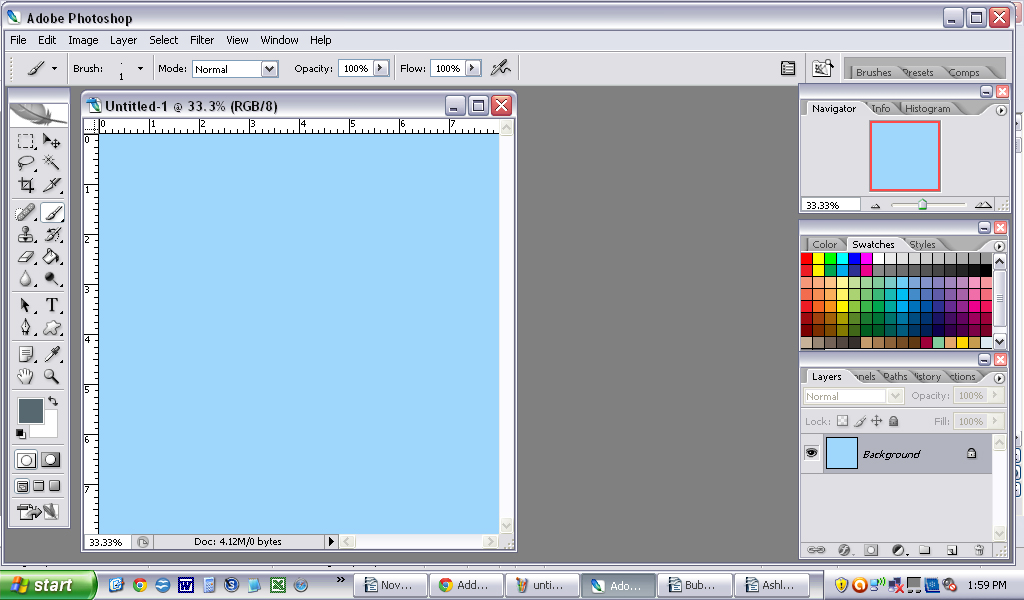
Go to Fill (Edit/Fill) and select the Color option under the contents heading. Select color #9fd6fc in the box at the bottom of the second column.

Your canvas should look like this:
Step 3: Gradient
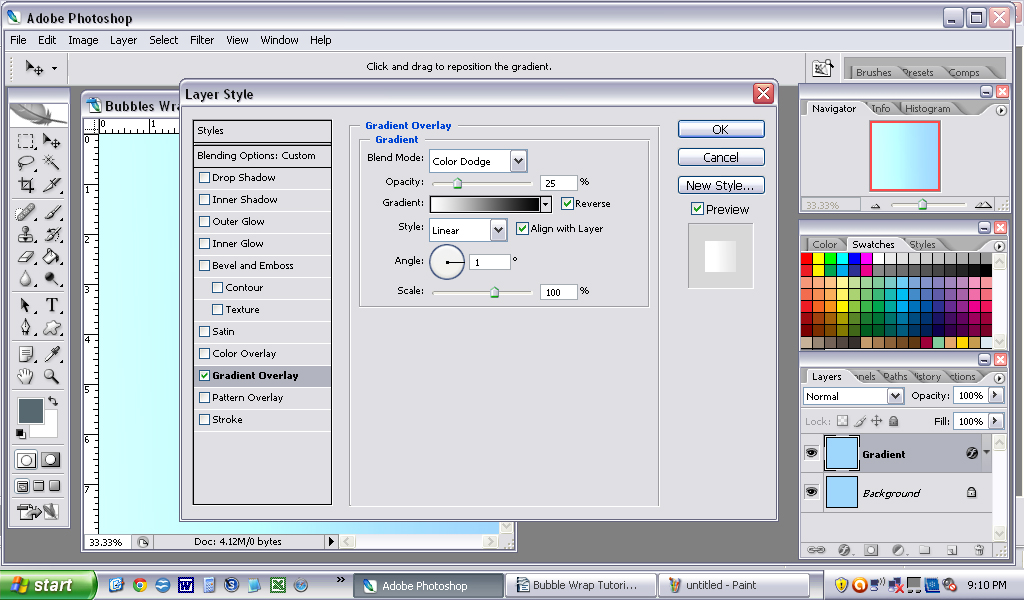
Copy this Layer and name it “Gradient”. Go to the Layer Styles by double clicking on your layer and click on Gradient Overlay. Set the Options to:
Blend Mode: Color Dodge
Gradient: Reverse
Style: Linear
Opacity: 25%
Angle: 1 degree
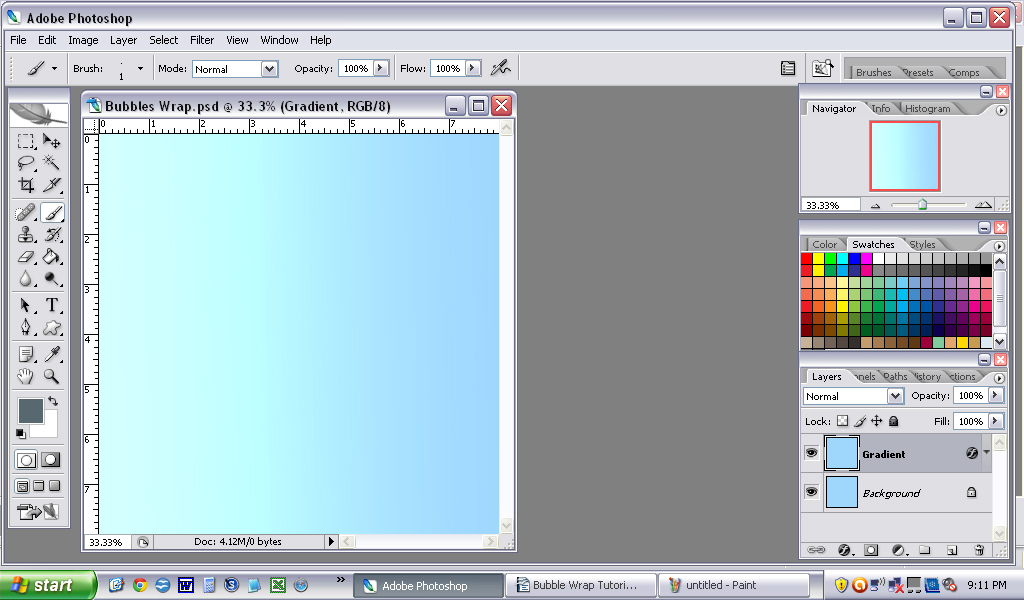
Scale: 100%.
Your canvas should now look like this:
Step 4: Emboss
Copy the “Gradient” layer and name the new layer “Emboss”. Go under the blending options by double clicking on the Emboss layer, select Bevel and Emboss, and use the following settings:
Style: Pillow Emboss
Technique: Chisel Hard
Depth: 100%
Direction: Up
Size: 45px
Soften: 16px

Under the “Shading” section of the tab, select the following settings:
Angle: 180
Altitude: 70
Highlight mode: Screen
Opacity: 75%
Shadow mode: Multiply
Opacity: 75%
Additionally, go under Gradient and change the opacity of the gradient to 15%. Your finished background should look like this:

Step 5: Bubbles
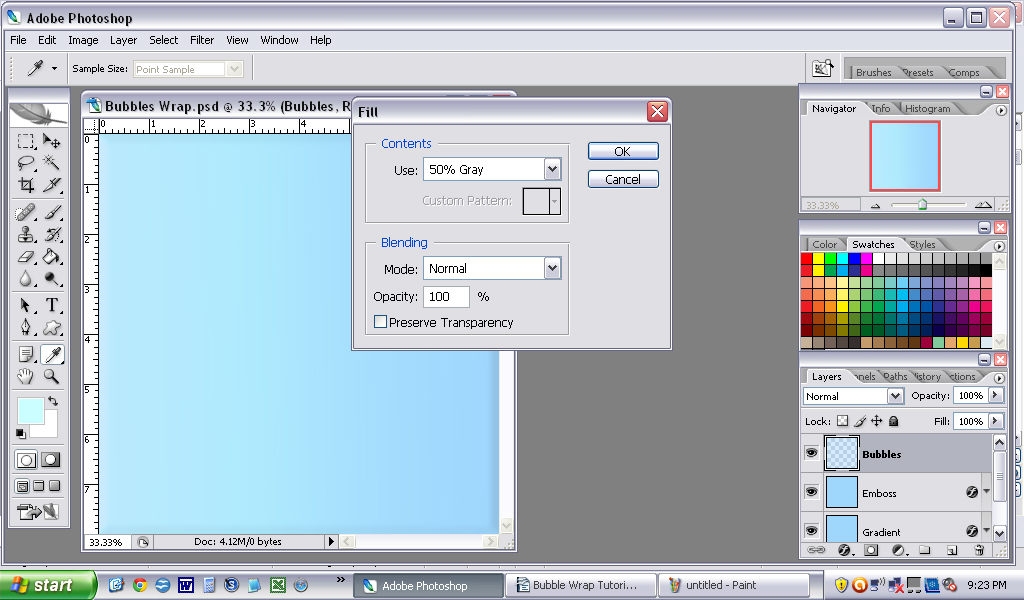
The next step will be to create the bubbles for your bubble wrap. To do this, create a new layer (Layer/New/Layer) and name it “Bubbles”. Fill (Edit/Fill) this layer with 50% Gray.
Step 6: Lens Flare
Add lens flare (Filter/Render/Lens Flare) and set the brightness to 100% and the lens type to 50-300 mm Zoom. Leave the Flare Center where it is.

Step 7: Polar Coordinates
Utilize the Polar Coordinates effect (Filter/Distort/Polar Coordinates). This should be set to Polar to Rectangular.
Step 8: Flip
Next, flip the canvas vertically (Image/Rotate Canvas/Flip Canvas Vertical).

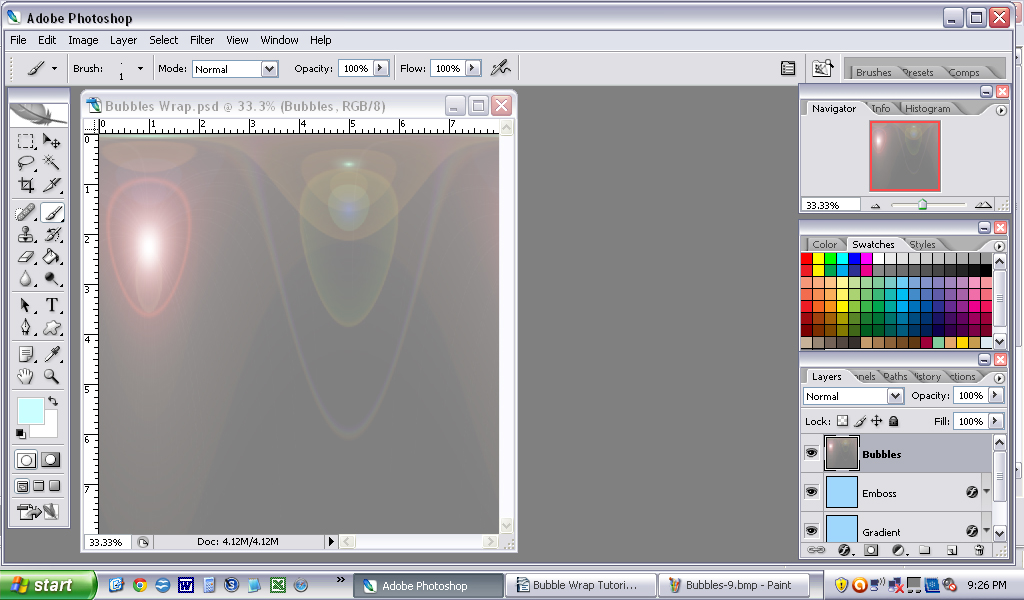
Step 9: Complete the Bubble
Get into the Polar Coordinates setting again (Filter/Distort/Polar Coordinates) and select “Rectangular to Polar”. If you followed the steps correctly, there should be a rendered bubble filling your screen and your canvas should look like this:
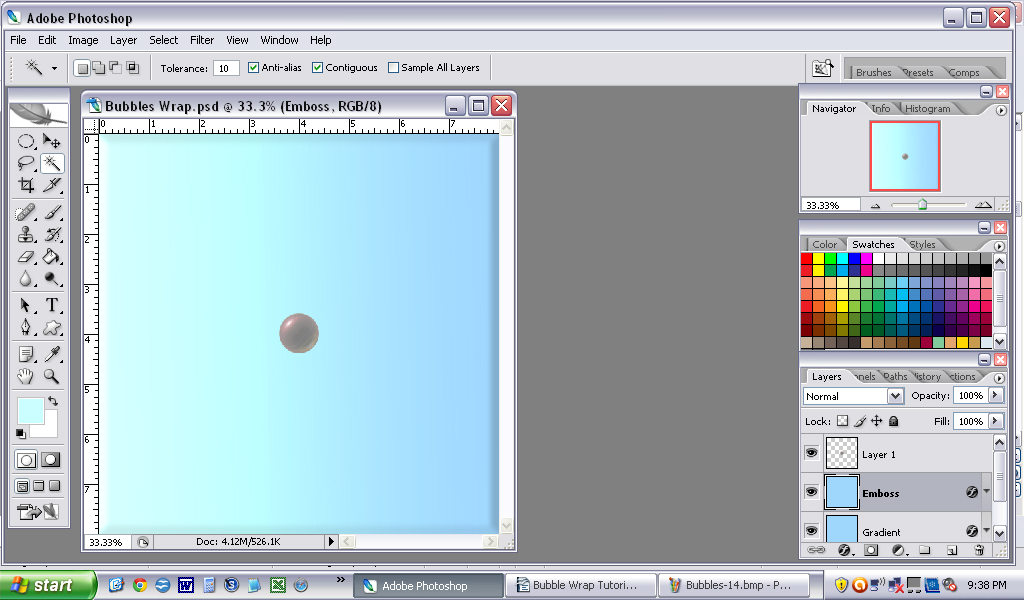
Step 10: Select the Bubble
Select the elliptical marquee tool. Align your cursor with both of the four inch marks on the ruler. Hold down the “Alt” key and drag the circle out until it covers the entire bubble. Select the “Move Tool”, and on the top tool bar, select “Show Transform Controls”. Click on one of the squares in the corner of the selection to change the size of the bubble. Change both the width and the height of your selection to 10%. Hit enter, select the Magic Wand Tool, then right click on the selected bubble. Choose the “Layer via Copy” option. Once the layer has been copied, select the “Bubbles” layer and delete it. Rename this new layer “Bubble”.


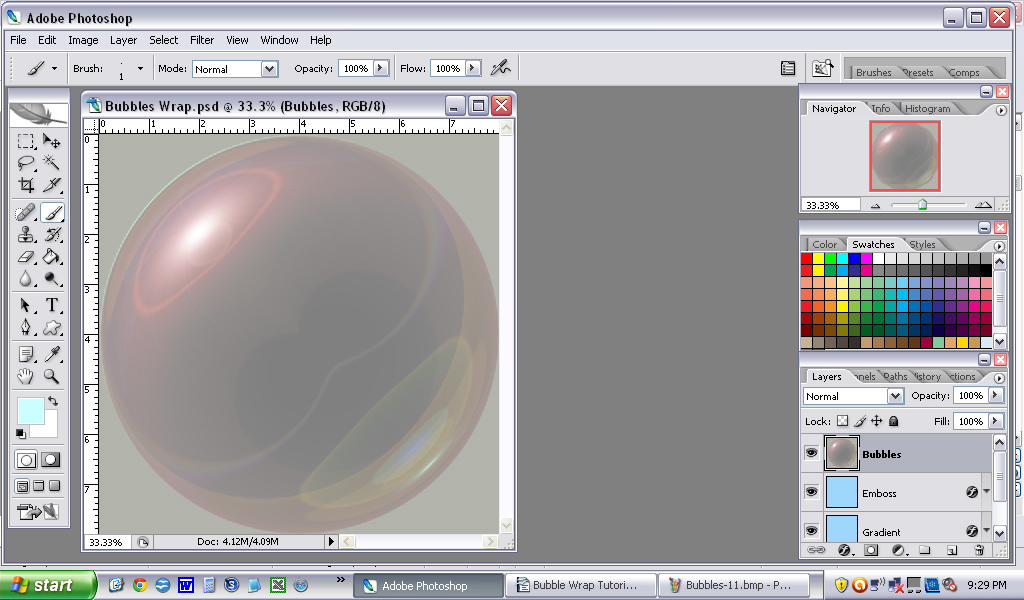
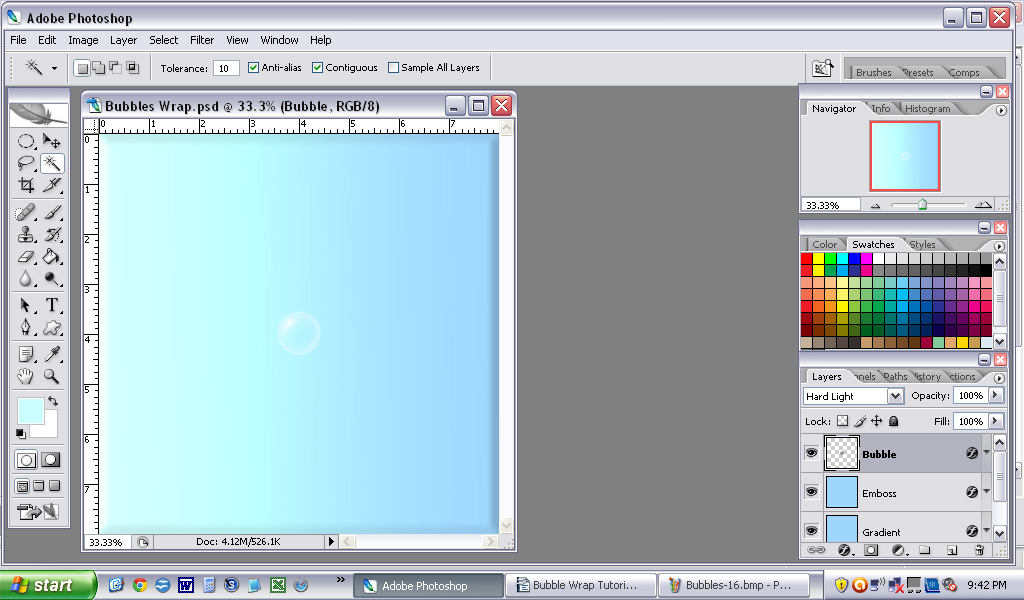
Step 11: Blend the Bubble
Access the blending options for the Bubble layer by double clicking on it. Select Hard Light under the General Blending options. Next, select the Outer Glow option along the sidebar and choose the following settings.
Mode: Soft Light
Opacity: 75%
Noise: 0%
Techniques: Softer
Spread: 34%
Size: 5px
Range 50%
Jitter 0%

Step 12: Inner Shadow
While still under Blend Mode, select the Inner Shadow option and choose the following settings.
Blend Mode: Multiply
Opacity: 9%
Angle: 180
Distance: 5
Choke: 0
Size: 5px
Noise: 0%

Next, go to Drop Shadow under Blending Options. Select the following settings:
Blend Mode: Multiply
Opacity: 19%
Angle: 180
Distance: 5px
Spread: 0%
Size: 5px
Noise: 0%


Step 14: Create the Bubble Pattern
Select your bubble by using the Rectangular Marquee tool. Try to select it as well as possible, but don’t worry if you select a small amount of the area around the bubble. Next, turn your bubble into a pattern (Edit/Define Pattern) and name this pattern “Bubble Wrap”. Delete the Bubble layer.


Step 15: Complete the Bubble Wrap
Double click on the Emboss layer to access the Blending Options. Click on Pattern Overlay, and under Pattern, choose the Bubble Wrap pattern that you just created. Change the opacity to 90% and the scale to 81% or to the scale of your choice, depending on how large you want your bubbles to be.

The end result should look like this:
Your bubble wrap is now complete!
Thank you so much for reading this tutorial! I hope you enjoyed it.
